
You ever see that fabric that you "must have"?
Buy it by the yards, then it sits and sits and you never use it.
I figured out a solution.
Office chair makeover
That's right, with just a few items you can have a new chair in just an hour or so.
Take an old ugly (free in my case) chair, 2 yards of "must have" fabric, a few nails and hammer (or staple gun could work to), scissors, pins, allen wrench (or screwdriver depending on your chair) and the ability to do straight line sewing.
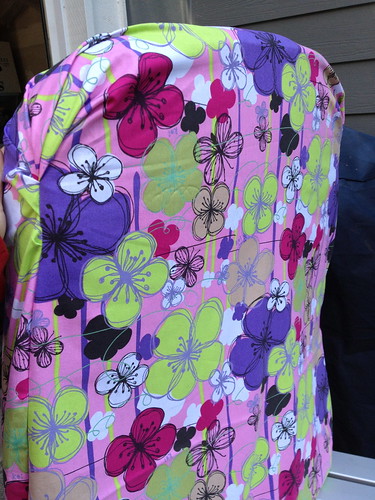
Here's my fabric that has been sitting, I love purple and green! This was gifted to me by my mom but I could not figure out what to do with it.

Here's my free chair from a neighbor

Here's a picture to show the hardware on the arms, super simple, 4 screws each side, no fussing under the seat at all.

This particular chair required an allen wrench
(I keep everything that has ever come in a box of furniture that needs building, so I had a few on hand)
Once you remove the arms the back is also disconnected

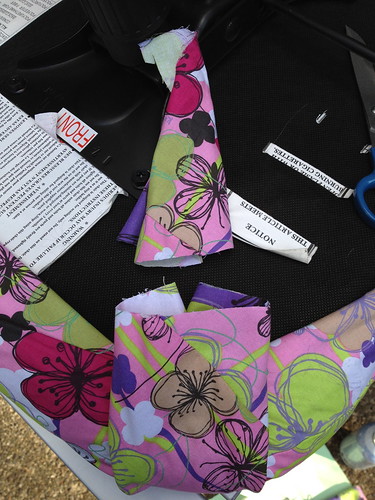
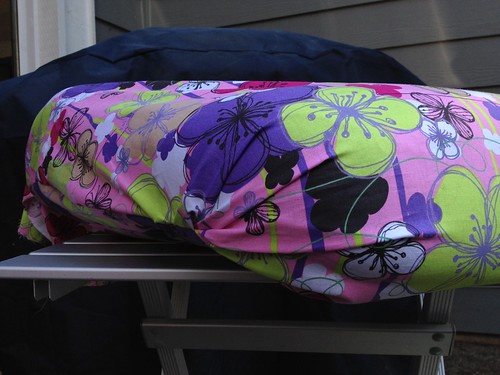
I placed the back on a small table, standing it straight up as if it were still attached and ready to be sat in. I then took my fabric, print side facing chair pad, tucked the back under (towards me) about 6 inches

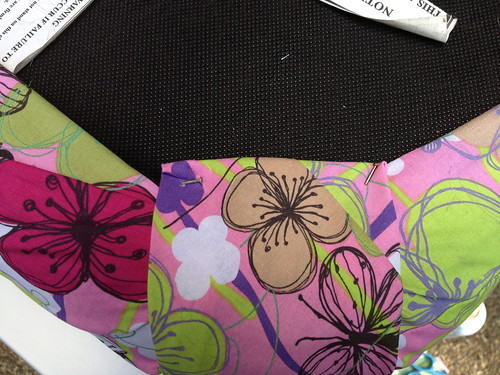
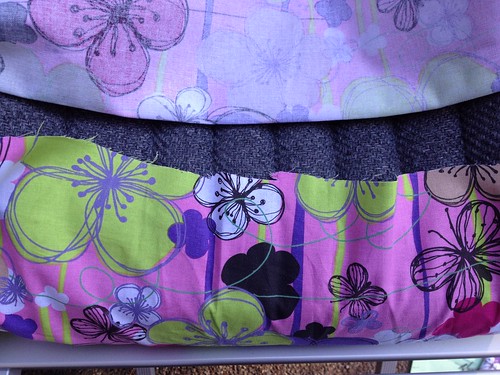
I worked the right side first, with about 3-5 inches available to work with, I tucked and folded the top corner until I liked it, pulled the back side around and pinned it.

I then followed the side crease of the chair pad straight down, pinning along the way, stopping a few inches away from the bottom

Repeat the above to the left side
Once both sides are pinned I then trimmed the piece I tucked under earlier, I left about 3 inches, both on the back that tucked towards me and then tucked the front piece towards the back and trimmed.

Heres the back side all nice and flat, adjust your pins if needed, then pull off the "slip cover"

On to the bottom seat.
I took the remaining fabric and laid it over the seat to measure, I was short on both sides, just a few inches, so I took the trimmings of the top that I had just cut off and placed and pinned along both sides as needed


I didn't get a picture of the sewing but I'm sure you can imagine. I took both the top and bottom and straight stitched along the outside of my pins, trimmed any access fabric, turned the top right side and headed back outside, fabric pieces in tow.
Heres the fun part, no really, I wasn't thinking before I started this project.
I swear we have a staple gun..... oh where oh where can it be........
If you have one, great! These next steps will fly right by.
If not, well then get to digging for teeny tiny little nails and a hammer.
(see, I said dig and dig is what I did)

just for these little guys

Here is another option, not mandatory at all, but helpful, yes.
Basting spray (my new favorite "tool")
I sprayed the bottom seat before placing the fabric to help stable it while I pulled and tucked and nailed.

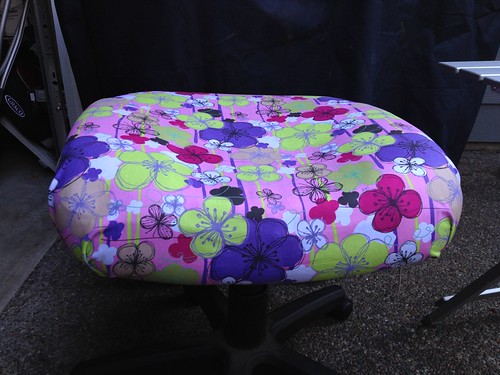
see how nice and flat and clean that looks

Time to flip and get to work,
I pulled folded and nailed in the center of each 4 sides

Then at the corners I tucked and folded left and right and nailed them in place, creating this triangle extra piece around the corners

I cut off a few inches
Then tucked and nailed the corners
(yes I know my nails are bent, the under side of the chair did not like me or my nails)
Repeat all 4 bottom seat corners and...wala...

Don't forget to make and puncture the holes for the arms
Back to the top, slip on the cover and adjust the folds around the top corners, making sure the back is flat to
Lay top on its back, tuck the back under and inside
If you have the basting spray, you can spray the top down now for a little stability while nailing the final tucks in

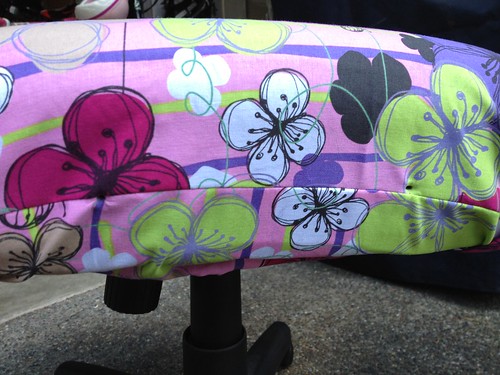
Pull the top down nice and smooth, tuck and fold and place over the bottom tuck, nail in the center


On the two bottom corners I pulled and folded similar to the top corners, not worrying to much because they will be hidden, I didn't even cut off any extra I just tucked it in and nailed


Again make the holes for the screws (I just stuck a pencil in them)

Add your arms back on,
TADA!!!
I most fabulous looking office chair ever, J/K :-P


thank you so much ! I need to do this and recover my ironing board ; won't that look awesome in the same fabric == 1 of many that I just HAD TO HAVE ! Mickey :)
ReplyDelete